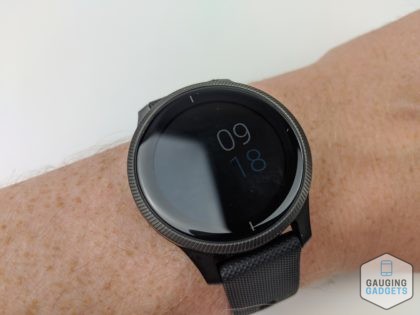
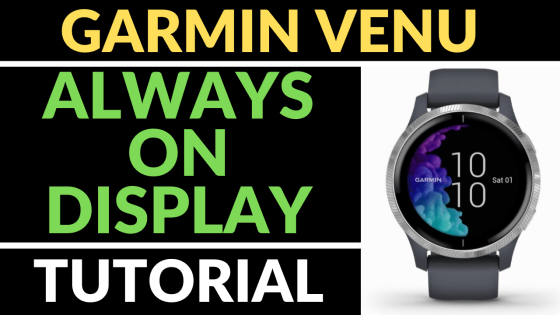
How to turn on the always on display on your Garmin Venu? In this tutorial, I show you how to setup the always on display on a Garmin Venu. Doing this will enable the Venu watch face always display the time and date. Let me know in the comments if you have any questions while turn on the always on display on your Garmin Venu.
Order One Today (Paid Links) 👇
Garmin Venu: https://geni.us/Venu
Useful Accessories (Paid Links) 👇
Garmin Venu Extra Charging Cable: https://geni.us/VenuChargingCable
Garmin Venu Screen Protector: https://geni.us/VenuScreenProtector
Garmin Venu Port Protector: https://geni.us/VenuPort
Video Tutorial:
Note: One downside of the always on display on the Garmin Venu is that is uses more battery life. Turning on the always on display will bring the battery life down to ~2 days with a full charge. The Garmin Venu always on display is only compatible with the built-in watch faces. It will not work with watch faces installed from the Garmin Connect IQ store. Click here to learn more about how to customize the built-in watch faces on your Garmin Venu.

Turn on Always On Display on your Garmin Venu:
- Set the watch face on your Garmin Venu to one of the built-in watch faces.
- Open the Venu menu by holding down the bottom right button for a couple of seconds.
- In the menu select the gear at the bottom to open the settings.
- In the settings scroll all the way down and select System.
- Once in the system settings, select Display
- Once in the display settings, select Timeout
- Now select Always On
- If the always on display does not initially work on your Garmin Venu, I recommend power cycling the watch.
More Garmin Venu Tutorials:
Discover more from Gauging Gadgets
Subscribe to get the latest posts sent to your email.


 Subscribe Now! 🙂

