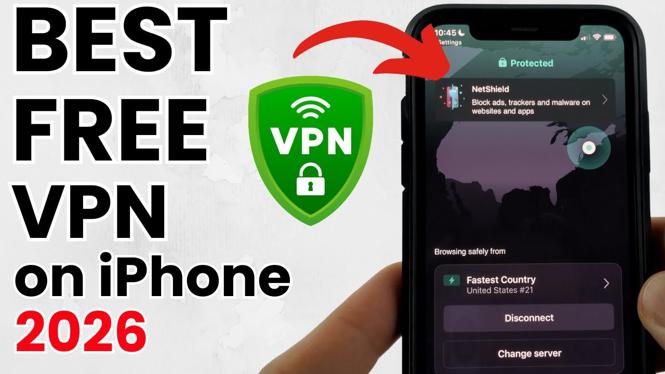
Best FREE VPN for iPhone: A Step-by-Step Guide
In an increasingly digital world, protecting your privacy online has never been more important. If you’re an iPhone user, you may be looking for a way to browse securely, access geo-restricted content, and shield your personal information from prying eyes. This blog post will guide you through the process of finding and setting up a free VPN on your iPhone in 2026. We’ll cover everything from why you need a VPN to step-by-step instructions on installing and using one effectively.
Video Tutorial
Why You Might Be Looking for This Tutorial
Many users seek out a free VPN for various reasons. Here are some common motivations:
- Privacy Protection: Protecting your data while browsing on public Wi-Fi networks is crucial. A VPN encrypts your internet connection, ensuring your personal information is secure.
- Access to Restricted Content: Some websites and streaming services are restricted based on geographical location. A VPN allows you to bypass these restrictions and access the content you want.
- Cost-Effectiveness: With various subscription-based VPN services available, finding a reliable free option allows you to enjoy VPN benefits without financial commitment.
Steps to Set Up a Free VPN on Your iPhone
Follow these steps to find and install a quality free VPN on your iPhone:
Step 1: Research and Choose a Reliable Free VPN
Not all free VPNs are created equal. Look for a reputable provider with positive reviews. Some popular free VPN options for iPhone include ProtonVPN, Windscribe, and TunnelBear. Check each option’s features, limitations, and privacy policies before making a choice.
Step 2: Download the VPN App
Once you’ve selected a VPN, go to the App Store on your iPhone. Search for your chosen VPN and click on the ‘Get’ button to download and install the app.
Step 3: Create an Account
Open the app once installed. You may need to create an account to use the VPN service. Sign up using your email address and create a password if prompted. This step may vary depending on the VPN you choose.
Step 4: Configure Your VPN Settings
After creating your account, follow the on-screen instructions to configure your VPN settings. Many VPNs offer the option to connect to different server locations. Choose a server location that suits your needs (e.g., a location that allows access to specific content).
Step 5: Connect to the VPN
Simply tap the ‘Connect’ button within the app to establish a secure connection. You should see a VPN icon in your iPhone’s status bar, indicating that you’re connected to the VPN.
Step 6: Start Browsing
With the VPN connected, you can now browse the internet securely. Visit your favorite websites or stream content without the fear of prying eyes or geographical restrictions.
Conclusion
Using a free VPN on your iPhone is a straightforward process that can significantly enhance your online privacy and access to content. By following the steps outlined in this tutorial, you can ensure that your personal data is secure while enjoying unrestricted browsing. Remember to review the terms and limitations of the free VPN service you choose, and stay safe online!
More iPhone Tutorials:
 Subscribe Now! 🙂
Discover more from Gauging Gadgets
Subscribe to get the latest posts sent to your email.